 |
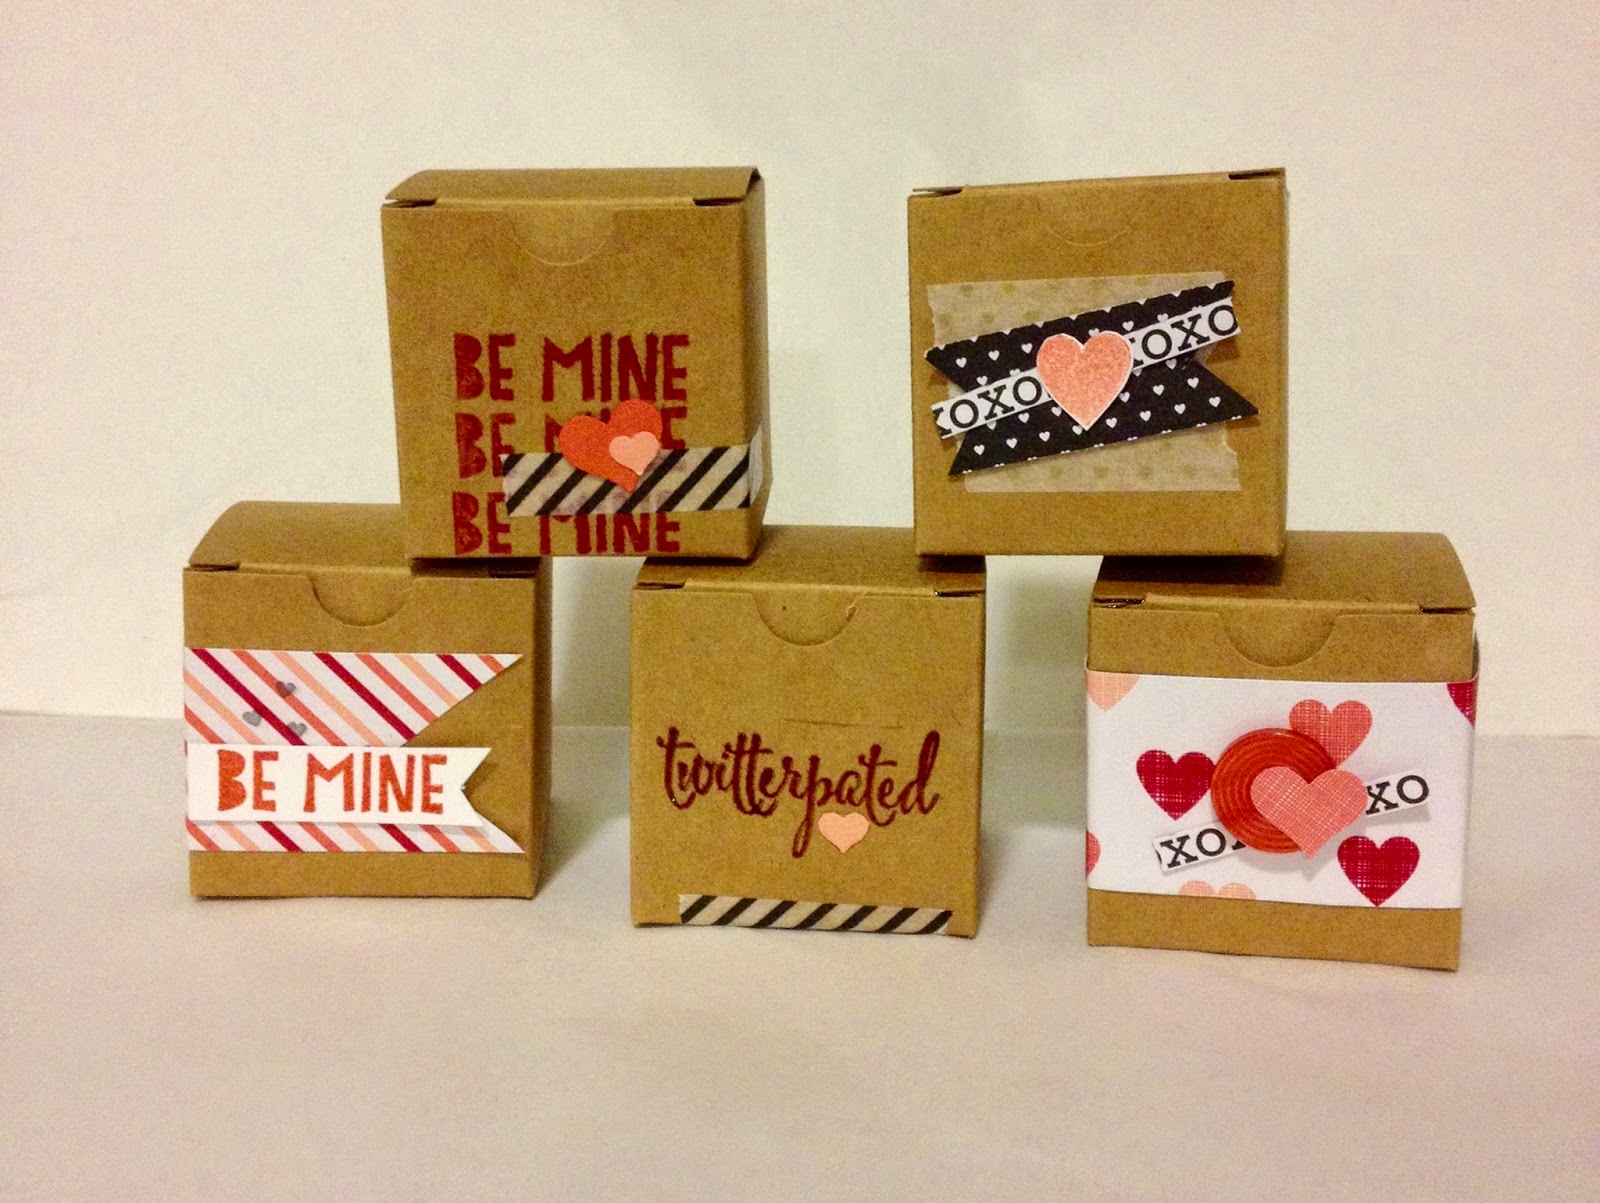
| Celebrate the Love by using these little treat boxes to Count Down to Valentine's Day! |
Another Countdown idea for you! Today its using these darling little treat boxes!! The boxes come premade, you just fold them and they're ready decorate - you'll love them! ;-)
 |
| Stampin' Up! Supplies for Valentines Countdown Boxes |
For more details or to purchase these, please see the links at the bottom of this post.
- Tiny Treat Boxes
- You Plus Me Stamp Set
- Project Life by Stampin' Up! Day to Day stamp set
- Stacked with Love Paper Stack
- Stacked with Love Washi Tape
- Real Red, Basic Black, Whisper White, Crisp Cantaloupe, and Calypso Coral Cardstock
- Heart Punch from the Itty Bitty Accents Punch Pack
- Stampin' Dimensionals and Glue Dots
 |
| Tiny Treat Boxes make great Party Favors too!! |
I started by decorating the boxes. These boxes are about 2" square and come in a pack of 25!! Great for Class Treats because you can make 50 or more with just one pack of the Stacked With Love paper stack and Washi Tape set! Fill them with candy or what-not. They are the perfect size for Party Favors, gifts for neighbors or coworker. They're pretty enough to decorate with too, fill up a mantle or shelf, or use as a centerpiece.
TIP: When Using Clear Stamps I like to line a straight edge up through my clear block when I adhere the stamp. I have a much better chance of stamping it straight if its at least squared up to the edges of my block!! I like to line up the block on my Stampin' Grid Paper, then add my stamp, lining it up with one of the lines I can see through my block.
 |
| TIP - Line up stamp on grid through the clear block |
 |
| Inking part of the stamp with my Stampin' Write Marker |
 |
| Clear stamps make lining up images easier than traditional wood block stamps. |
 |
| Decorated Treat Box - easy peasy!! |
 |
| Punched Cardstock - Stamped and Punched - Stamped and Fussy Cut |
If you'd like to use them for a Countdown to Valentines Day, here is an easy way to number them for the countdown:
Using the Project Life by Stampin' Up! Day to Day stamp set, I added a February tag, and then tags for each day. Stapled to a strip of cardstock, a few punched hearts, and Voila!! A Special Countdown! Simple! This set is pretty darn useful outside of Project Life! ;-) Use it to make anniversary / shower / wedding / party favors with a special date, save the date cards for a wedding or other special event, use it in your planner or Filofax... Useful! #JustSayin ;-)
The Stampin' Up! items used for this project are shown below,
Click on any image to view more info
or to purchase them in my online store.
Happy Crafting!
-Angie

No comments:
Post a Comment