
Note cards are a great economical alternative to full cards for a few reasons. They are slightly smaller, at 3.5" x 5" folded, so you use less resources like adhesive and paper, embellishments and ribbon. They come in a package of 20 cards AND envelopes, for a nice savings in overall paper and envelope costs. And they are pre-scored, ready to fold, stamp, and send, which saves you time and energy in preparing to craft. (really? yes, I'm that
These are the supplies I used:
Its pretty easy to guess the theme of this Designer Series Paper Stack, what with all the cake and ice cream and candles and balloons: It's A Birthday or Party type stack. So I thought I would get good use out of it by pairing it with the Endless Birthday Wishes stamp set. And yes. Endless Options! Wheeeee!!!

 |
| 3/4" Strip onto 3" x 4.5" panel |
I picked several patterns I liked - they all go together, that's the beauty of the Designer Series Paper Stack: It coordinates with itself wonderfully! I cut pieces of the 4.5 x 6" sheets into 0.75" x 6". For this card I couldn't quite get 2 cards out of it, because it uses slightly more than half when I placed the strips at an angle. But I liked the look, and I have lots of paper! I stacked the strips at an angle up the card, using Snail to stick the strips down.

Once they were stacked I stamped my greeting across the top. I turned the panel over and trimmed off the excess parts of the strips.


I used about 5 different layouts, but alternated the paper patterns to create 20 different cards. You can see more of them in this post HERE. I also used the Cherry On Top Paper Stack to embellish the envelopes. This is a really simple but adorable way to add a little excitement to the outside of your envelope. Cut a 2" x 6" strip of paper that goes with the papers used on the card. You could totally use whichever paper you liked, they DO all go together, but it adds a nice bit of matchy-matchy when you use the exact print that is somewhere on the card. If you want to be super coordinated. ;-)
 |
| 2" x 6" strip of paper will cover the envelope flap easily. |
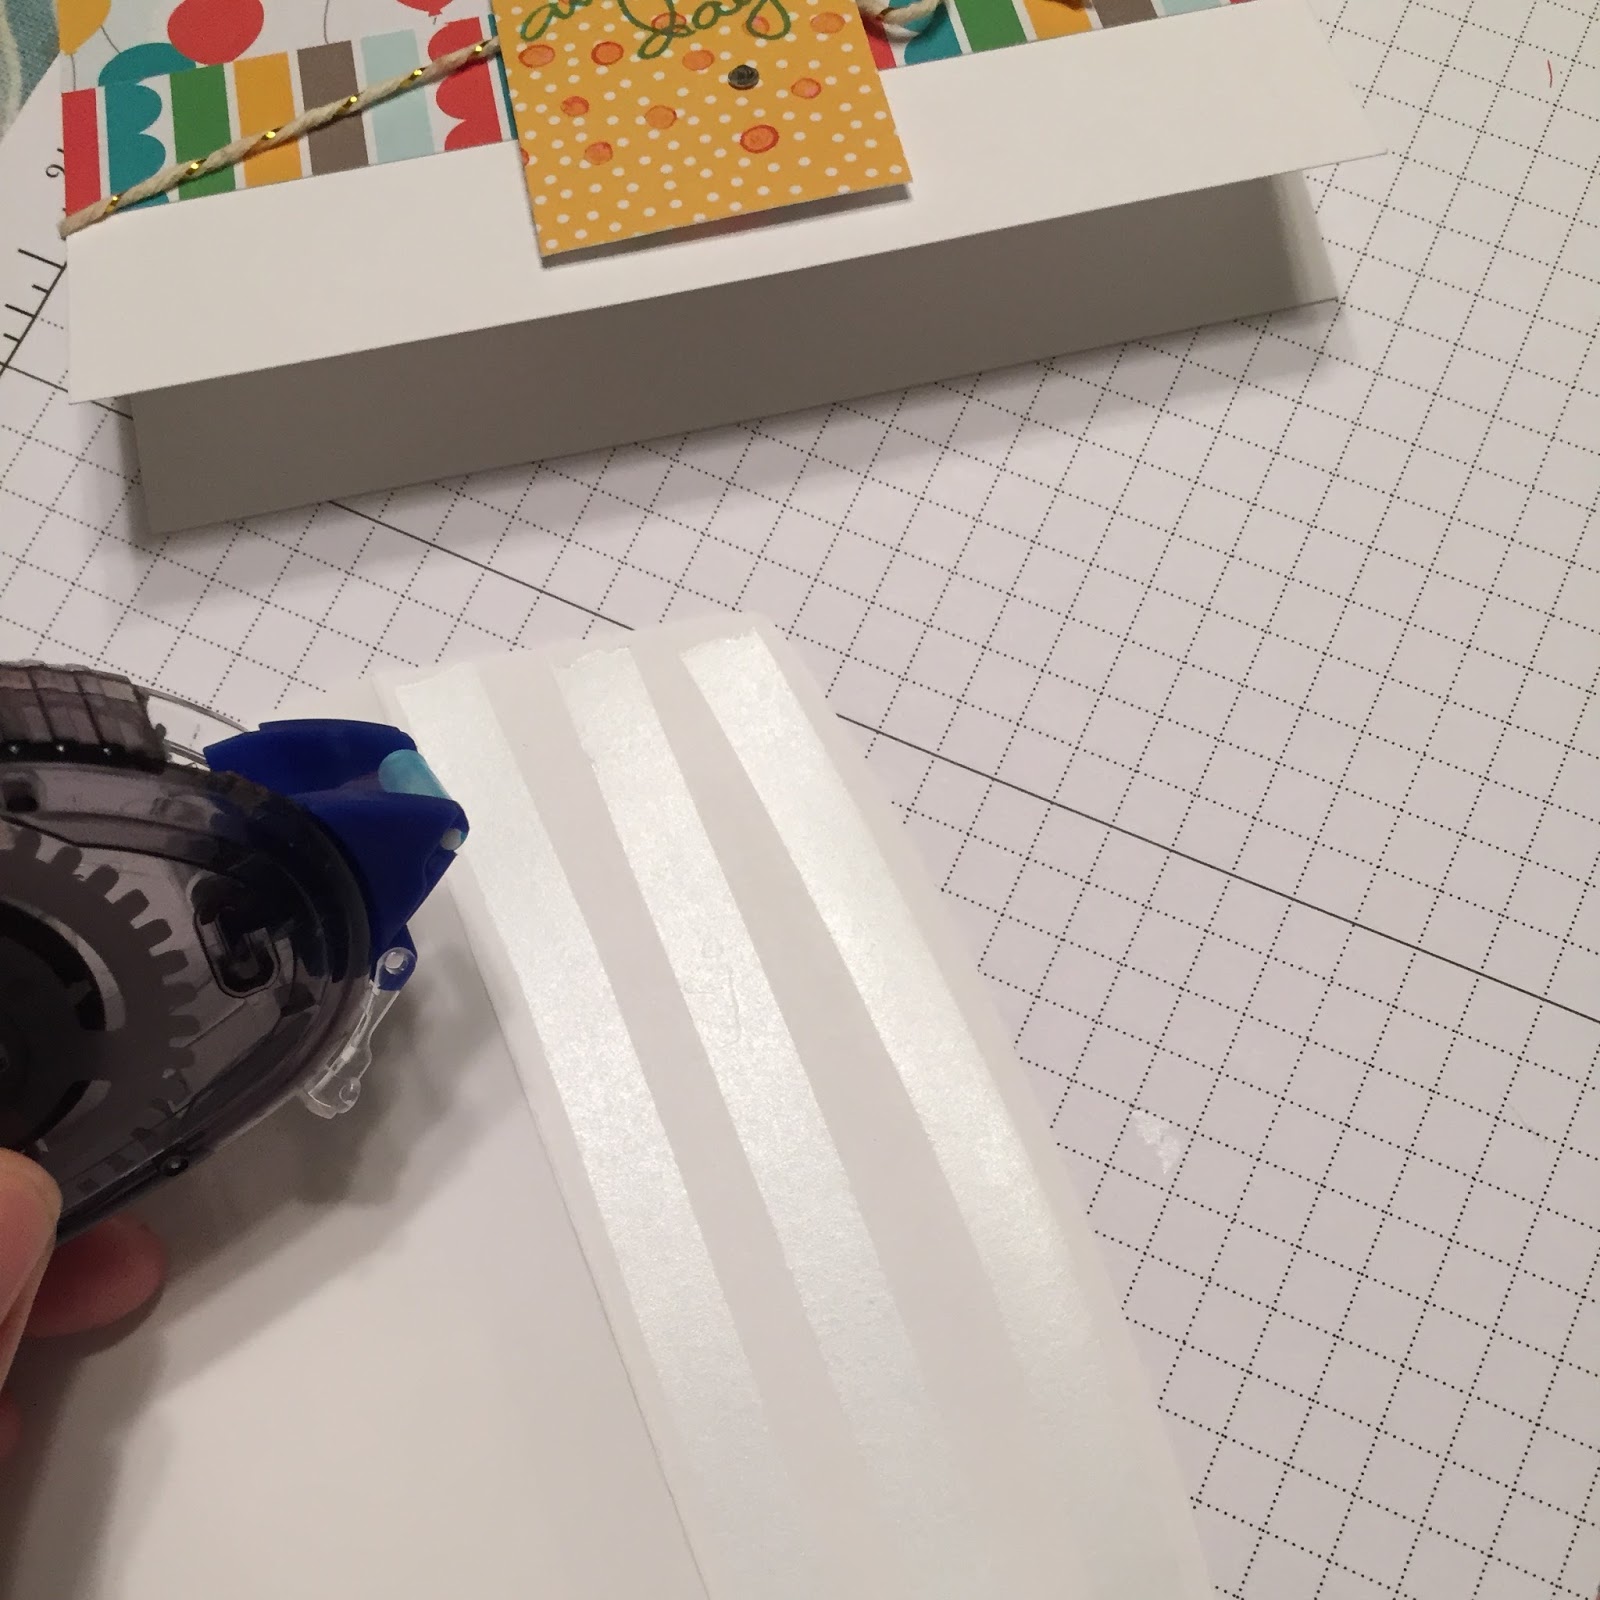 |
| Add rows of Snail Adhesive for a secure stick. |
 |
| Add your strip and smooth it out. Trim the excess off with scissors. |
 |
| Voila! Matchy-matchy Magnificence! |
Hope you are inspired to try your own, these are an easy way to get a bunch of cards done in a short amount of time. Perfect for all those summer events! What Paper and Stamp Set duo are you going to try?
Happy Crafting!
-Angie
WEEKLY DEALS - Shop Tuesday - Monday night to get these special offers! Click on any item to view in my Online Store
No comments:
Post a Comment